Monday, April 15, 2013

Week 14 (April 1st) - Collage Card Set

     I am not a huge fan of craft paper, simply because it is not very bright! I am totally a color person, so neutral does not really appeal to me. However, I felt very inspired during a recent trip to Michael's when I found some packs of paper that included craft paper, along with some very bright blues, reds and pinks. It was even better when I found the matching embellishments! So I bought the paper and embellishments, with the intent of making a new card set. It was a goal of mine to make more matching sets during my card challenge year, so these items seemed to be perfect for that.


Instructions coming soon!

From Stampin' Up
card stock: Primrose Petals, Crumb Cake,
Pool Party, Real Red
Classic Stampin' Ink: Midnight Muse, Real Red,
Raspberry Ripple
Live Laugh Love wood stamp set (retired)
Pretty Petites clear stamp set (Sale A Bration 2013)
Posy Punch clear stamp set (retired hostess set)
Sweet Essentials clear stamp set
Happiest Birthday Wishes clear stamp set

Michael's
Assorted Craft Paper Melodies and Lace
Assorted Jewels Melodies and Lace
Assorted Paper Flowers Melodies and Lace

     These cards were very simple to make....they are all 4" x 4" square cards. The papers used as the bases of the cards are all using the Stampin' Up papers listed above. All of the decorative square and rectangle pieces were cut from the assorted Michaels paper. I am not going to list all of the dimensions for these cards, as the pictures are very easy to follow! All of the stamped images use the inks and stamp sets listed above. And of course, these sentiments are fairly simple and straightforward, so any sentiment set would do. Sweet Essentials is actually a great set to use, since it has a good variety of words. 
Feel free to contact me with any questions!

Week 13 (March 25th) - Mother's Day

     Yes, I made my Father's Day card before my Mother's Day card! That's just because that one was easier... technically my Mother's Day card was planned in my head first. I am VERY pleased with my card, however, it was ALOT of work, and I was happy when they were finished. Apparently, the hard work was worth the effort, because two of them sold at my recent show!

From Stampin' Up
card stock: Primrose Petals, Whisper White, Lucky Limeade
Stampin' Write markers: Primrose Petals, Bashful Blue, 
Lucky Limeade, Concord Crush (retired In Color)
Fancy Flower punch
Posy Punch clear stamp set (retired hostess set)
Something to Celebrate wood stamp set (retired hostess set)
Festive Paper Piercing kit
paper piercing tool
Big Shot
Labels Collection framelits
Snail adhesive
Stampin' Dimensionals

Michael's
Inkadinkadoo Floral clear stamp set

-Cut a 4 1/4" x 11" piece of Primrose Petals card stock. Score in the center and fold, making a 4 1/4" x 5 1/2" card 
-Use the biggest Labels Collection die cut as a template on the front flap, and trace the design with a pencil. Cut along your pattern with scissors (you can not run this through the Big Shot because it is too wide, but also because running it through will cut out the whole label, and you only want half of a label to serve as the front of your card)
-Using the paper piercing kit, pierce along the edge of your cut card flap. 
-Run a piece of Whisper White card stock through the Big Shot using the third largest label die (you should have used the largest to trace your flap design. 
-Choose one of the floral images from the Inkadinkadoo stamp set, color it with Primrose Petals, Bashful Blue, Lucky Limeade and Concord Crush Stampin' Markers, and stamp the image twice on your white die cut piece. 
-Color one of the flowers from the Posy Punch stamp set with Primrose Petals and Concord Crush Stampin' Markers. Punch it out using the fancy flower punch. Attach it to your white label piece using a Stampin' Dimensional. 
-Attach your white label piece to the front flap of your card using Snail tape. Trim the top edge that will be hanging over. 
-On Whisper White card stock, Stamp Happy Mother's Day, using the Primrose Petals Stampin' Marker and the stamp from the Something to Celebrate stamp set. 
-Trim your Mother's Day piece into a strip and cut a triangle out of the end to give it a banner look. Using Snail tape, attach this to a piece of Lucky Limeade and trim to make a border.
-Attach the finished Mother's Day "banner" to the front of the card, slipping it under your large flower.

Don't forget, you can order Stampin' Up products from me any time by going on my personal stamping site www.mbreamstamping.stampinup.net


Week 12 (March 18th) - Happy Father's Day

     I am WAY behind in posting my weeks, but fear not! The projects are actually complete! As I mentioned in my last post, I was spending night and day getting ready for my first show of the year, on top of preparing for my very first Stampin' Up regional event. Both events happened this past Saturday, so now I can finally sit down and talk about the projects I was making (which also went into my show!)
     The first new card I made, was a Father's Day card. I had been waiting and waiting for a good occasion to use my new hexagon embossing plate from Stampin' Up, and I thought Father's Day was a nice manly occasion that would fit the hexagons. Plus, I had never made a Father's Day card, and I had been asked at previous shows if I had any in stock. So now was as good a time as ever! 
     I am very pleased with my first "manly" card attempt, and believe it or not, it was fun to cut out all those little hexagons and place them on the card. Yeah....they are hand cut! :)


From Stampin' Up
Card stock: Crumb Cake, Very Vanilla, Chocolate Chip
Classic Stapin' Ink pad: Old Olive, Bashful Blue
sponge daubers
Big Shot
Honeycomb embossing plate
Decorative label punch
Snail adhesive
Stampin' Dimensionals
Something to Celebrate wood stamp set (retired hostess set)

From Michael's
American Craft Fall Stripe ribbon
DCWV Fashion District patterned paper

-Cut a 4 1/4" x 11" piece of Crumb Cake card stock. Score and fold in the middle, creating a 4 1/4" x 5 1/2" card. 
-Put the paper in the honeycomb embossing folder. You will have to keep the card closed in order for it to fit when you are running it through the Big Shot the proper way (you are only embossing the front flap, not both front and back together)
-Run each piece of patterned paper through the machine as well. This will create the pattern on the paper that you can then use as guidelines for cutting out all of your little hexagons. 
-I used five different patterns, cutting three hexagons out of each and then placed them randomly using my Snail tape.
-Once all the individual hexagons are attached to the front, you can run a piece of ribbon across the top where the pattern ends. I used Snail tape on the back of the ribbon to keep it in place, then trimmed the ribbon at each edge.
-Stamp Happy Father's Day in Old Olive Ink on Very Vanilla card stock and use the label punch to punch it out. 
-Using a sponge dauber, ink the edge of your label with Bashful Blue ink.
-Punch an additional label from the Chocolate Chip card stock and cut in half vertically. You will place this behind the Vanilla piece and attach with Snail tape, making a frame on each side. (see picture)
-Using dimensionals, place your finished label on the front of the card in your desired location. All finished!

Monday, April 1, 2013

Catching Up!

     Don't worry! I have not abandoned the weekly posts after only three months! I have been VERY busy getting ready for two upcoming craft shows. Weeks 12, 13, 14 and yes, probably 15, won't be up until after the completion of the first show on April 13th. I do in fact, have the projects done for those first three weeks. I do not, however, have the time to write about them!
     Just a little preview....there will be a Mother's Day card, a Father's Day card and a new five card set. I am very excited about all of them, and I can't wait to post them.
     I will take a few minutes to talk about all of my exciting events! On Saturday, April 13th, I will be part of a very small craft show that is in conjunction with a fashion show/fundraiser for the Souderton Telford Business and Professional Womens Foundation.
http://www.soudertontelfordbpw.org/event/fashion-show-luncheon/
I am very excited about this one, because I was actually ASKED to be there, and there is a limited number of vendors that will be there. The only unfortunate part, is that I myself will not be there. My wonderful sister will be filling in for me, as I will be down in MD for a Stampin' Up regional event. We both knew it was too good of an opportunity for my new official business, "LilyRose Paper Crafts"(more on THAT piece of news later!)
     The other craft fair I am attending is part of the two day Relay for Life event that will be held at Upper Dublin High School on May 17th and 18th (the craft fair is on the 18th). All the benefits go toward the American Cancer Society, including 20% of each participating vendors sales. SO come check out LilyRose Paper Crafts and buy some stuff for a good cause!

Sunday, March 17, 2013

Week 11 (March 11th) - Imagine

     This is probably one of my favorite cards to date. Not just within the 52 week challenge, but out of any I have made! The words themselves on this card mean so much to me. In one form or another, I have used these phrases the past few years to make a lot of my goals come true, including starting my own business. THAT however, will be another blog post...hopefully coming soon! 
     Anyway, back in July when I went to CKC in Lancaster, I saw this word stamp set and bought it right away because of the way it spoke to me. I also saw this set of three images together, and knew right away that they belonged with each other on a card. They are such elegant images and such strong words, that I kept this card much simpler than normal. The only extra touch this card has, is a single rhinestone in the middle panel (a little hard to see in the photo). There are no special punches, embossing or even dimensionals, which is also why I have not added instructions with this one. What you see is what you get...stamped images on card stock! 
     I hope you find this card as inspiring as I do!


From Stampin' Up
Card stock: Concord Crush, Pear Pizazz, Peach Parfait, Whisper White
Stampin' Write Markers: Concord Crush, Peach Parfait
(Papers and markers 2010-12 In Colors...clearance)
Rhinestone Basic Jewels
Snail Tape
Other
Stamp sets from Rubbernecker Stamps


Week 10 (March 4th) - Kindness Card

     The idea for this card has been in my head for a LONG time! It was inspired by a card in my very first Stampin' Up catalog as a demonstrator. I even cut and folded the card stock months ago! But of course, I was working on a pile of projects, and then the holidays came, and it all got pushed aside...until about 2 weeks ago when I was organizing my finished and unfinished cards. I found a sandwich baggie, and inside the sandwich baggie were 6 ready to make cards. SO...it was not a challenge what so ever to figure out which card I was making this week!


From Stampin' Up
Card stock: Wild Wasabi, So Saffron, Pefect Plum, Whisper White
I Heart Hearts stamp set
Heard From the Heart stamp set
Clear blocks C and E
Subtles Collection Stampin' Write Markers
Versa Mark ink pad
Stampin' Emboss Powder white
Heat tool
Big Shot
Fashionable Hearts Embosslits
Stampin' Dimensionals
Snail Tape
Scallop Eyelet Border Punch (clearance)

-Cut Wild Wasabi card stock. Score and fold in the center. 
-Cut two pieces of Whisper White card stock...one for the outside and one for the inside. Attach one piece to the inside of the card using Snail tape. This piece will be used to write your message on.
-Use the Wild Wasabi marker to color the Kindness stamp, and stamp towards the top of the white paper on the outside of the card. 
-Color other assorted hearts from the I Heart Hearts set with various Subtles markers. 
-Border punch a strip of Plum card stock and attach to the back of the stamped piece of paper using Snail tape. 
-Border punch a piece of Saffron card stock. Line it up with the Plum strip, and attach it to the back using Snail tape. 
-Take the piece of White paper and attach it to the front of the card using Snail tape. 
-Using one of the Heart Embosslits, emboss and cut a heart from the Saffron card stock. Attach it to the card using Snail tape. 
-Stamp one of the Hearts on Plum card stock using the Versa Mark ink. Cover in white embossing powder and use tool to heat emboss. 
-Cut out heart by hand, and attach to front of card using dimensionals.

Don't forget, you can order Stampin' Up products from me any time by going to my personal stamp page at
www.mbreamstamping.stampinup.net

Tuesday, March 5, 2013

Week 9 (February 25th) - Hmm...spirals!

     My first instinct right away was to call this week a mega-fail! HOWEVER...I always like to turn bad things in to happy accidents, and that is what I will call this weeks card. This week is also technically not finished, but it is a work in progress. Here is what happened...
     I went to the CKC last July in Lancaster PA (which is a big scrap booking convention). While I was there, I fell in love with this very intricate die cut. I spent probably a whole day wondering if I should get it or not, and ultimately decided not too since I wasnt quite sure what to do with it. Fast forward a few months to Christmas time. I received it as a gift from one of my friends that was at the convention, watching me pine over this thing! I was so excited to use it and I had mountains of problems.
     Long story short, it just doesn't cut right on the fancy foil paper that I bought for it. The paper is thick, and because of the intricacy of the die, it does not cut all the way into the middle. It is not the fault of the die cut or its manufacturer. It is really my fault for thinking I can fix everything in a frugal kind of way! I heard the woman at the convention telling another customer that you really need to metal shim for your die cut machine for these specific dies. So I thought I would just use a piece of paper as a shim as I had done in the past for other die cuts. Then of course I wound up not getting the die at the time, and my friend had no idea about the shim. So back in present day, I am trying this thing over and over again with a folded piece of paper as a shim, and it just isn't working. The paper still doesn't offer enough solid support, even folded four times! Needless to say, I will be getting the shim this July when I go to the convention again!
     So here I am wondering what to do with these card fronts I made, and no die cut to add to them. So I try it with regular card stock instead. It works (mostly) and it is beautiful! So much so, that it puts the card fronts I made to shame! I almost gave up, but then I said to myself...I have this piece that needs a card front PLUS I have these really cool scraps from the negative image. I decided to just make two individual cards and call it a learning experience.
     Unfortunately, the actual die cut is still sitting card-less. I REALLY need to think about how to use it on a card in a way that will compliment the design, otherwise its not worth it! I did, however, use my scraps to make a birthday card. I went with a rainbow theme with multiple spirals to represent the chakras of the body ( I am taking a class about that right now...VERY cool stuff). So if you understand chakras, you might like the card. Or if you just like rainbow colors and pretty designs, this fits the bill too! I even got to use that fancy silver foil paper as a border. Enjoy!

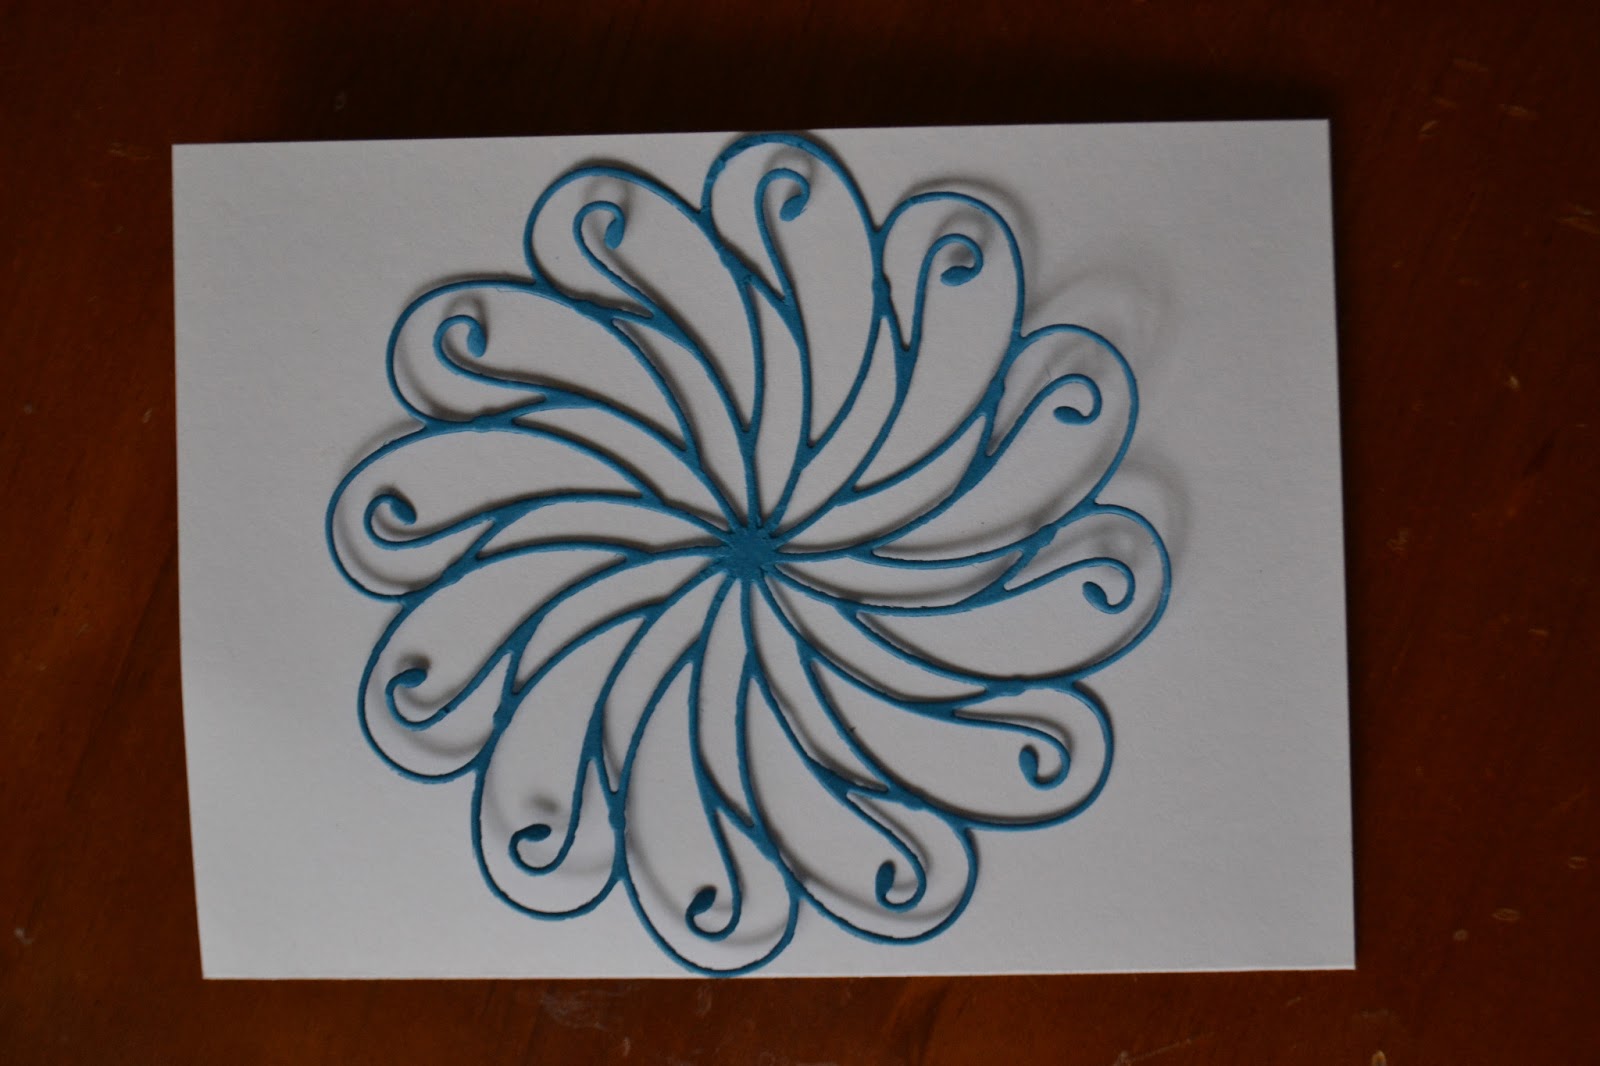
My beautiful, super delicate die cut that really needs some inspiration. It can ALMOST stand by itself, but I think I need an inspiring saying to go with it! I need to think about what to do before I can finish...

 My "chakra" birthday card! The big blue spiral is made from the negative paper scraps from the inside of the die cut. And my very shiny silver paper is the border on the card.

This was a very random and last minute card, so I am not going to get into instructions and supplies for this one. You can always contact me if you want more info. I will say, that I did get to use one of my FAVORITE Stampin' Up sets called Lacey and Lovely. It's a bunch of elegant but random circle designs. The green and red circle were made with that set. Check it out on the Stampin' Up page!